Every website you have ever visited started as a simple page built with two languages: HTML for structure and CSS for style. If you want to build your first website with HTML and CSS, the good news is that you need no expensive software, no previous experience and no mathematics degree — just a computer, a text editor and a free afternoon. This step-by-step project guide walks you from an empty folder to a finished personal web page you can show to anyone.
What You Need Before You Start
The list is short. You need a computer, a text editor and a web browser. For the editor, use a free code editor such as Visual Studio Code, which colours your code so it is easier to read; even a plain text editor works at a pinch. Create one new folder on your computer called my-first-website. Everything for this project — your page file, your style file and your images — will live in that folder, which keeps the project tidy and easy to move later.
If you have never written any code before, do not worry: this project assumes nothing. If you would like the bigger picture first, our roadmap on how to learn coding for beginners shows where this project fits into a longer learning path.
Step 1: Plan Your Page on Paper
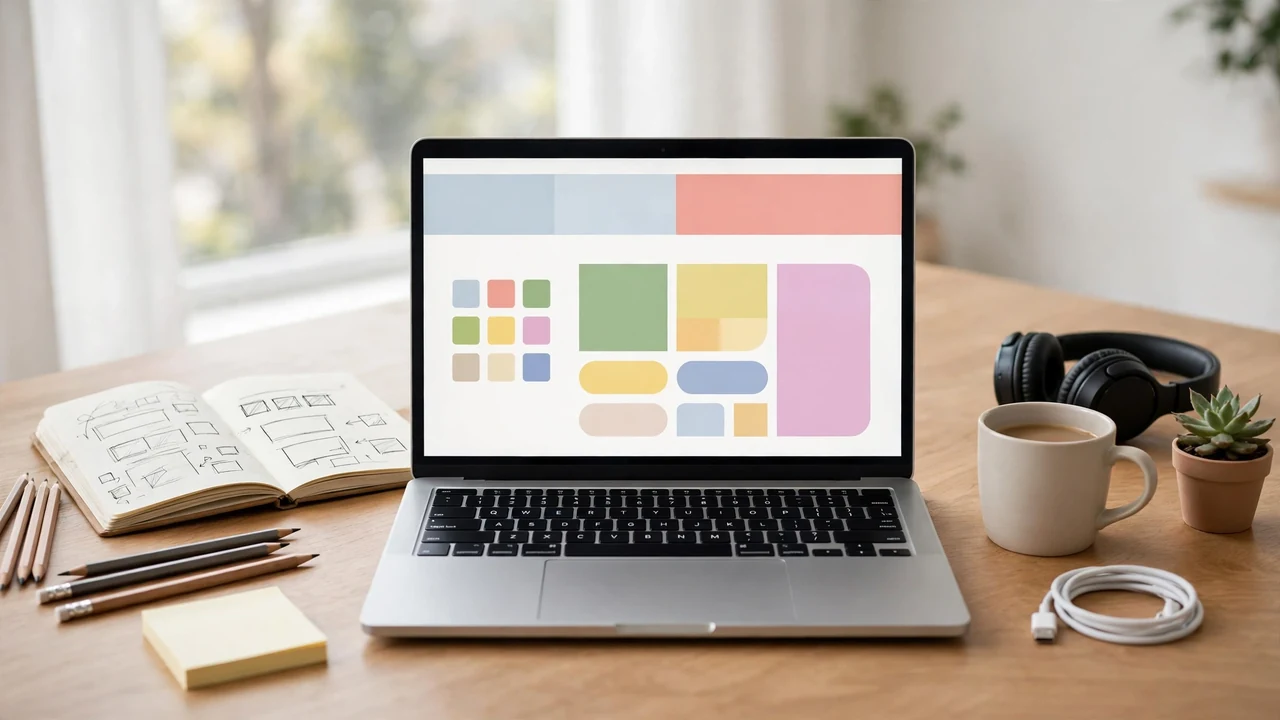
Professional developers sketch before they code, and so should you. Decide what your page is about: a personal profile, a hobby page, a small portfolio or a page about your favourite place. Then sketch the sections: a header with the title, a short introduction, two or three content sections, maybe a list of your interests, and a footer. Five minutes with a pencil now saves an hour of rearranging later, and it mirrors how real projects begin — the planning habit behind structuring programming projects starts with exactly this kind of sketch, just at a bigger scale.
Step 2: Build the Structure with HTML
Inside your folder, create a file named index.html. HTML describes the parts of a page using tags. Your file needs a simple skeleton: an opening declaration, a head section holding the page title, and a body section holding everything visitors see. Inside the body, add your content with heading tags for titles, paragraph tags for text, an unordered list for your interests, and a link tag or two.
Work in small pieces. Type the header and one paragraph, save the file, then open it in your browser to see it appear. Add one section at a time, refreshing the browser after each addition. This build-a-little, check-a-little rhythm is the single most valuable habit a beginner can learn, because when something looks wrong you know it came from the last thing you changed.
Step 3: Style It with CSS
Your page works, but it probably looks plain. CSS is where it becomes yours. Create a second file called styles.css and link it from the head of your HTML file. Start with four changes: set a comfortable font for the whole page, give the body a background colour, make your main heading a colour you like, and add space around your content with margins and padding so the text does not hug the edges of the screen.
Then improve one section at a time. Style your header with a contrasting background, centre your title, and turn your list into something more attractive with spacing and a different bullet treatment. Change one rule, save, refresh, and look. CSS rewards patience: small, deliberate adjustments beat rewriting everything at once.
Step 4: Add Images and Links
A page with only text feels unfinished, so add at least one image. Save the image into your project folder and reference it by its file name, and always include alternative text describing the picture — it helps visitors who cannot see the image and search engines that cannot either. Then add links: one to an external site your visitors would find useful, and tidy anchor text that describes where the link goes, rather than “click here”.
At this point your page contains the same building blocks as professional sites: structure, style, media and navigation. The difference between your page and a famous one is scale and polish, not kind — a realisation that makes the reasoning habits in our article on how coding enhances analytical thinking feel very concrete.
Step 5: Test Everything and Fix the Bugs
Now behave like a tester. Click every link. Resize the browser window to phone width and check the page still reads well. Read every word for typos. Something will be wrong — a colour that did not apply, an image that does not load — and that is normal. Most beginner problems come from small slips: a missing closing tag, a misspelled file name, or a CSS rule pointing at the wrong element.
Fix problems methodically: check the last change first, compare the code carefully against what you intended, and test again after each fix. Our practical debugging tips were written for Python and Java, but the method — reproduce, narrow down, change one thing at a time — is identical for HTML and CSS.
Step 6: Put Your Website Online
A website only feels real once other people can visit it. Free services such as GitHub Pages and Netlify let you publish a simple site from your project folder in minutes: upload the folder, and you receive a public web address to share. Before you share it, view the live version on your phone as well as your computer — publishing sometimes reveals an image path that worked only on your own machine.
Publishing through GitHub has a bonus: your project is stored with version control, so every change is recorded and reversible. If terms like repository and commit are new to you, our beginner’s guide to what Git is and how it works explains them in plain language.
Where to Go Next
Congratulations — you have built and published a real website. Natural next steps include making the layout adapt better to phones with responsive CSS, adding a second page and navigation between pages, and then learning a little JavaScript to make the page interactive. Whichever you choose, keep building small projects rather than only reading tutorials; each finished page teaches more than a chapter of theory. Strengthening the logic behind your code with our steps to improve your programming logic will pay off in every language you learn afterwards.
The first website is always the hardest, and yours is done. Keep the folder, keep experimenting, and remember that every professional developer once stood exactly where you are now: looking at a first page, wondering what to build next.